A big bowl of pasta is high on my personal comfort foods list. Who can resist rich carbs topped with a thick Read More

A big bowl of pasta is high on my personal comfort foods list. Who can resist rich carbs topped with a thick Read More
I would like to take this opportunity to introduce you to the newest members to my Food Studio family, Erika and Ellen. Read More
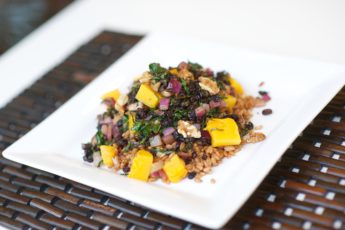
If your definition of eating whole grains is eating a whole-wheat bagel then think again. Eating whole grains actually means eating the Read More
Today I met Marni at Pizzeria Libretto on the Danforth. Since we’re both pizza-lovers (who isn’t!?) it just had to be one Read More
I had the privilege to travel to Italy. A long awaited trip that I have been wanting to do for years. This Read More
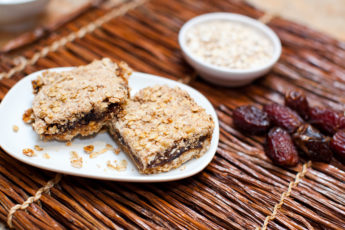
These cold, dark evenings at this time of year seem to coax out everyone’s sweet tooth. There is just something about the Read More