There are many nutritious foods but sprouts are one of the best things you can eat to improve your health. When you Read More
Browsing Tag
greens
Get Your Greens In!
My clients and students always ask me what is one thing they can do to improve their health. Or which one food Read More
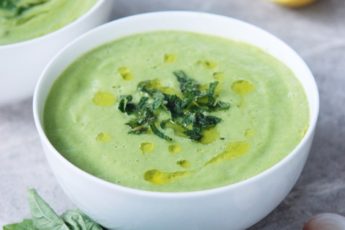
5 Ways to Lighten Up This Spring
My favourite way to welcome spring is to lighten up my eating habits. As the weather gets warmer, as more local vegetables Read More
The Wonders of Plant Based Calcium
Calcium is a very important subject for me so I was to learn that this month is calcium month! A hysterectomy, shortly Read More

The Myths of Calcium, Dairy & Bone Strength Triage
March is calcium month and there is no better time to clarify the myths of calcium and bone strength! Despite what dairy Read More
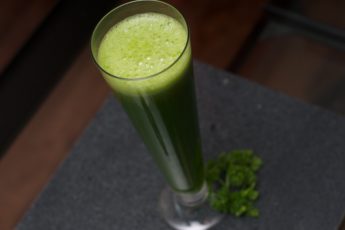
If You’re Going to Juice…
Make it organic! Or else you may as well not drink juice at all. When you juice conventional vegetables you are likely Read More